Making the Davros Baby Walker
How I made the Davros Baby Walker for Halloween 2016 as a build diary...
Plans
This mad project started with the plans provided for free by www.projectdalek.co.uk.....
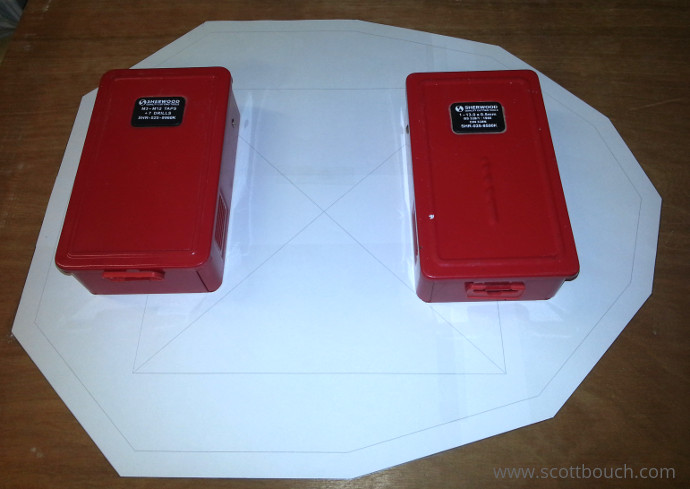
I had a plan to save time (as this was a rush project) to print the part shapes on A3 paper, cut them out as templates, and then draw round them onto the wood - and It worked very well; saved loads of time, and avoided the measurement mistakes that I am particularly good at making.
I scaled these plans down by 50% and drew the parts in LibreCAD:
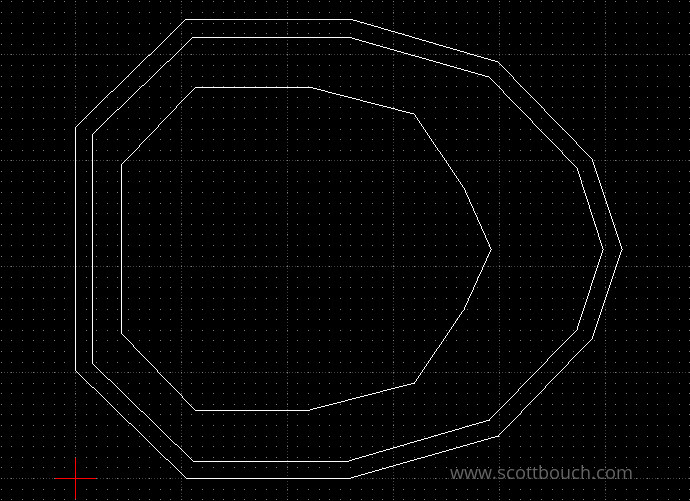
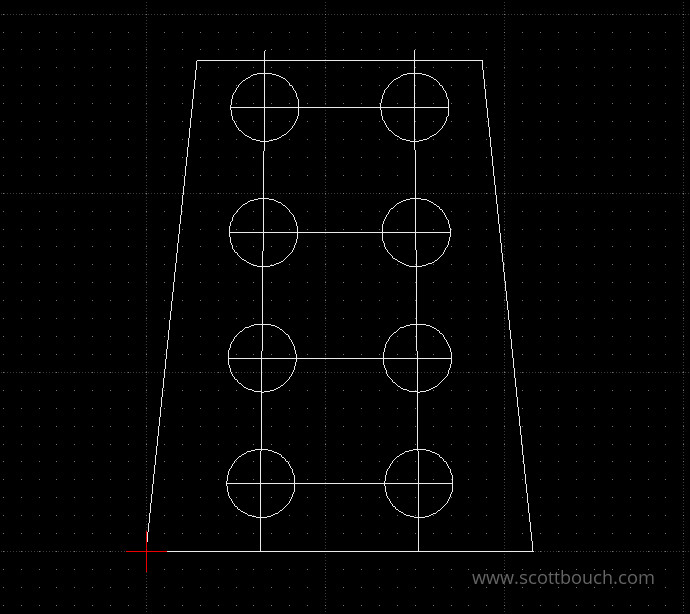
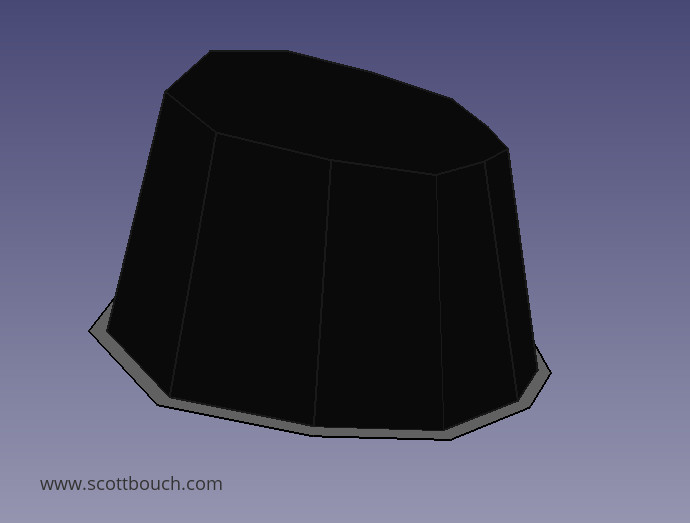
The dimensions were then checked by building a 3D model in FreeCAD, and it looked ok:
Design concept
My brief was to keep it as simple as possible, with as few parts as possible, to make it in the shortest timescale as possible!
To this end, the Baby Walker is all one piece, the fender is part of the skirt.
I planned to cut grooves in the top of the fender to key the skirt panels into and glue in place, and also to do the same for the underside of the top piece. This saved having to make any internal framework or blocks to attach the panels to, saving time, effort, materials, weight and space.
I aimed to cut out the skirt panels to be the the finished size of the outside of the skirt, the edges chamfered to maximise gluing area (removing the need for internal blocks again), and to reduce the amount of filling and sanding needed afterward, as the panels would meet as well as possible to form neat joints between panels.
Making the parts
Following the plan of print template, cut out, draw round, cut wood, I was able to very quickly produce all the skirt panels in 3mm plywood and the top / bottom pieces in 12mm plywood.
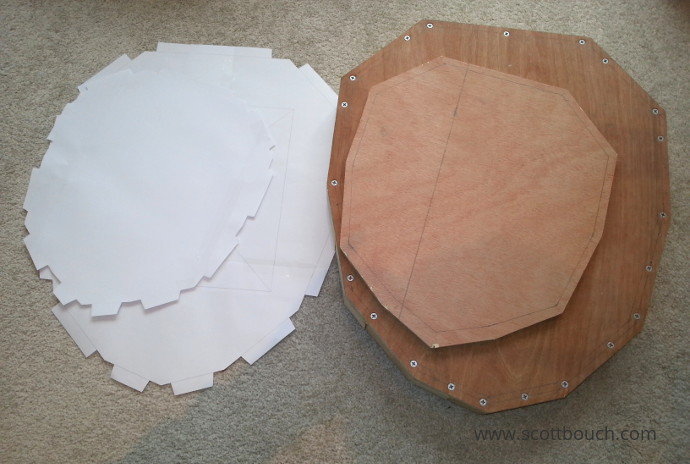
Note: The square box and cross printed in the centre of the shape was bacasue the fender was bigger than one sheet of A3 paper, so the printed shapes helped me align and join two sheets before cutting out:
Skirt panels were cut out after drawing round the paper templates. I added 4.5mm to the top and bottom of the wooden panels to create a tongue to go into the grooves planned for the base and top pieces.
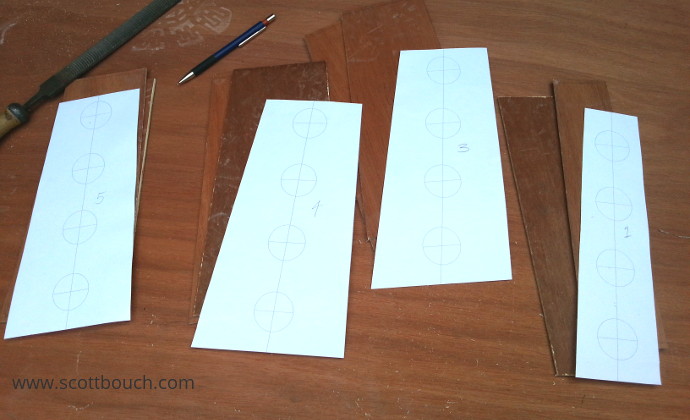
I took care to write numbers on the panels starting at the front and working back. At this stage, Left and Right does not matter, so I simply selected the best surfaces to go outside, saving me finshing time.
Building Davros
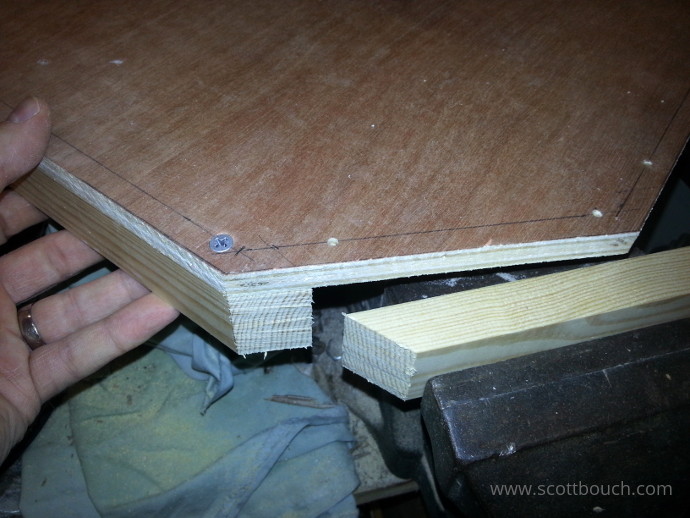
The Fender is constructed of a piece of 12mm plywood with a batten of pine running around the edge below it to give it the required depth, and add strength. I started by screwing the batten along one straight edge, cutting the ends at the required angles using the previously cut plywood as a guide to run my saw against, this then gives you the correct angle for the next piece by simply flipping the offcut over, as can be seen below:
The base and skirt top templates were modified to allow me to draw the location of the skirt panels, ready for cutting the grooves all the way round:
Video of the fist trundle of the base on the kitchen floor!
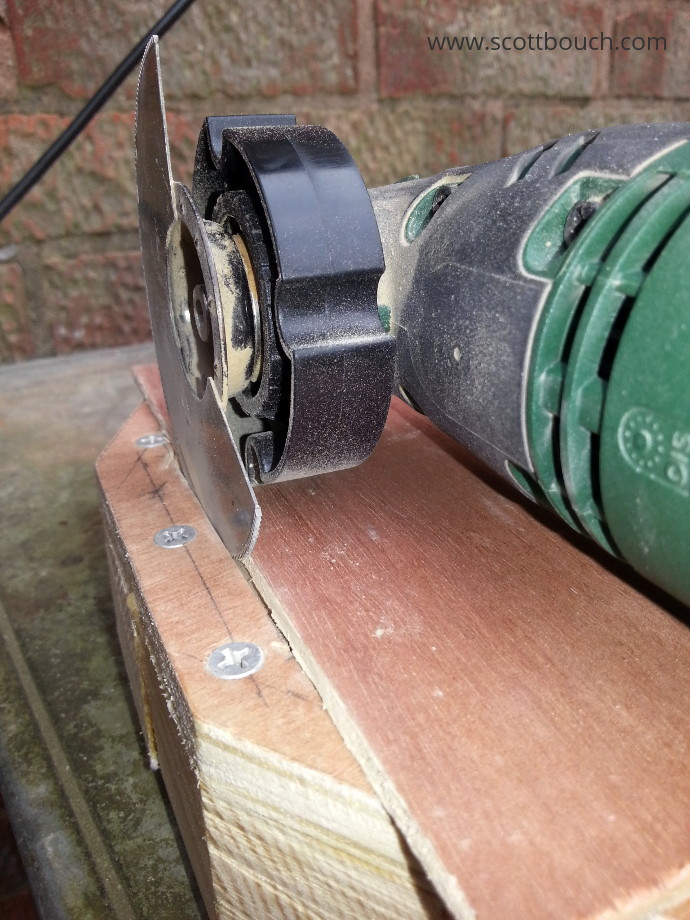
As I don't yet have a router (on the wish list...), I used a cheap multi-tool to cut the grooves. This multi-tool has a plastic collar to act as a depth gauge, I used a spare bit of 3mm plywood to pack it up a bit, resulting in a groove depth of about 5mm. This method was a bit of a faf, and would have been a lot quicker had I had a router.
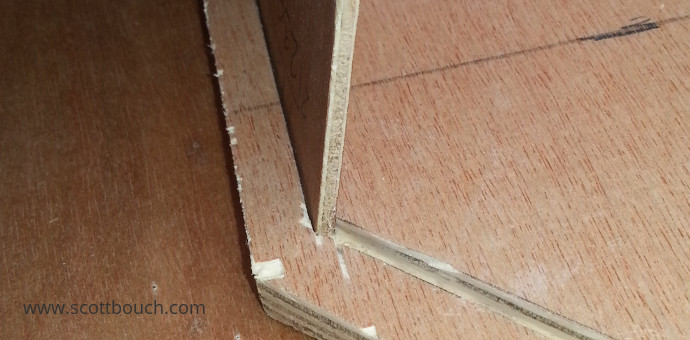
Trail fit of a panel:
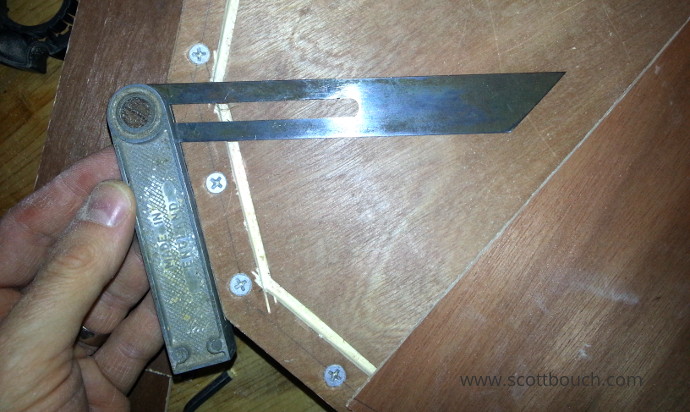
I used a sliding adjustable angle finder / bevel gauge to determine 50% of the angle of the skirt panel joints, so I could chamfer / bevel the edged of the panels to nicely meet up with each other:
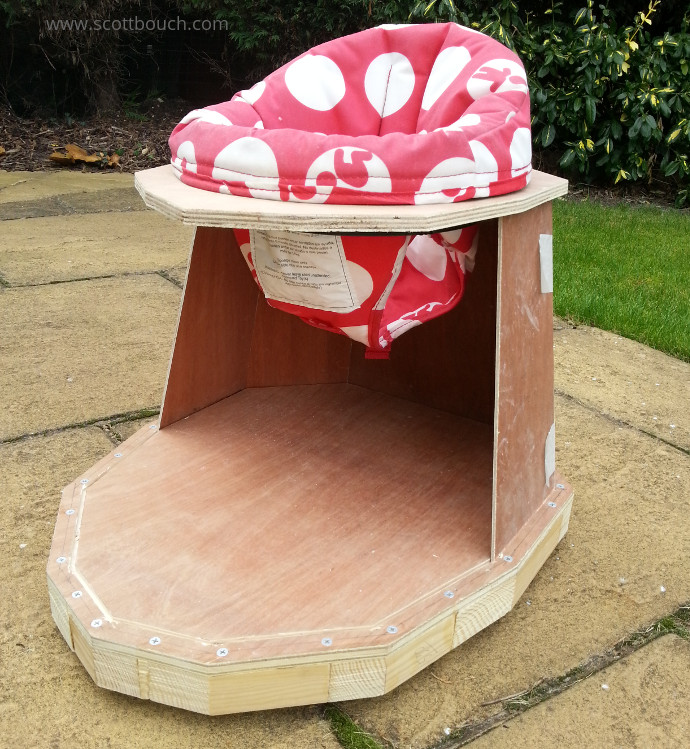
Trial fit including baby seat:
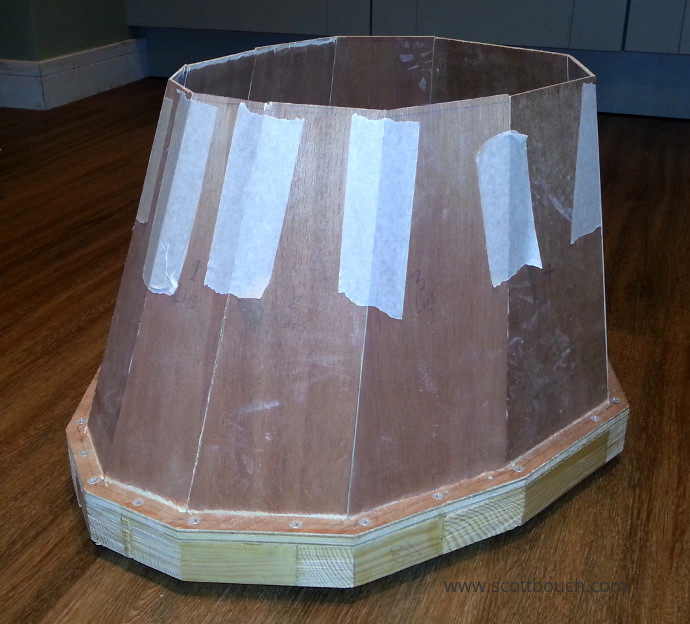
It's a very satisfying feeling when all your angles come together, and it starts to look a bit more like a Dalek! Quick trail fit of all the panels:
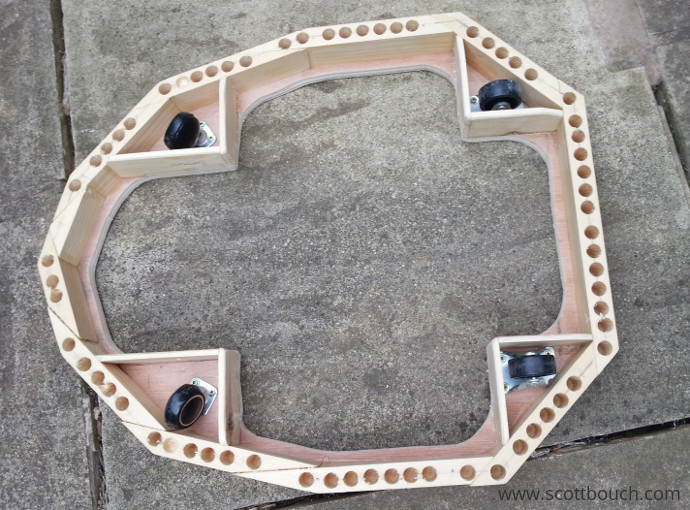
Wheels fitted to the fender, holes drilled in the pine to reduce weight while maintaining strength, boxes built around wheels to protect little one's toes, and as much foot area jig-sawed out as possible:
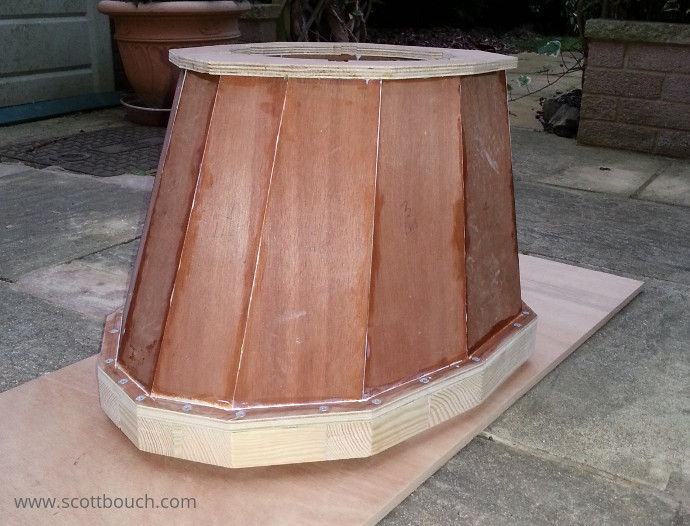
Final assembly and glued together, the chamfered edges resulted in good adhesion between panels, and very little need for filler and sanding. Then off for painting.
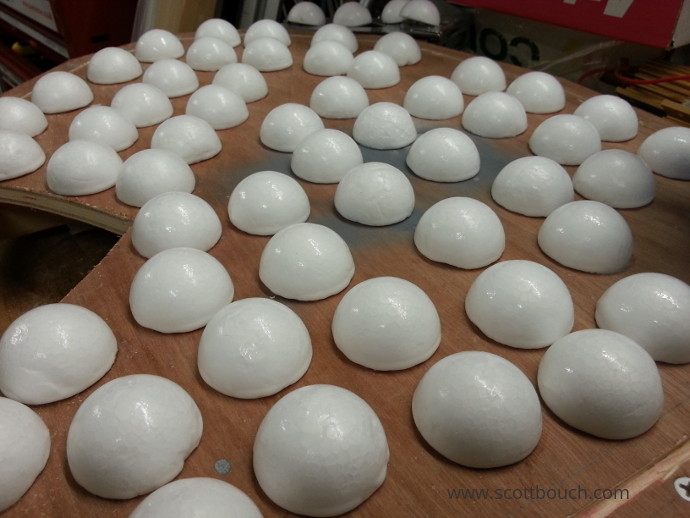
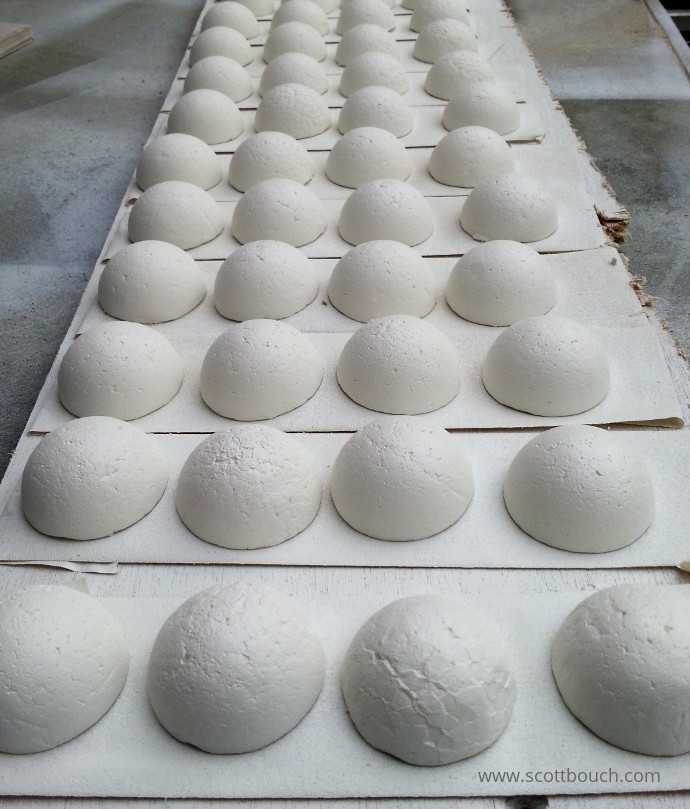
Polystyrene hemispheres were used, and what a pain in the backside they were. The spray paint I was trying to use on them kept on melting them...
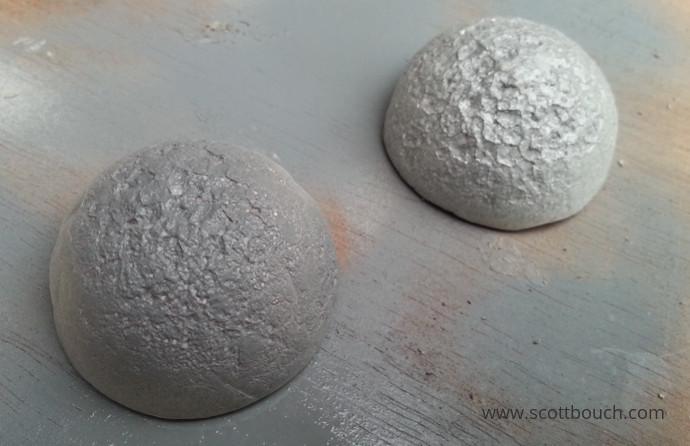
...so I tried coating them in PVA first:
...and it still didn't help as the solvent in the spray can ate through them, perhaps I should have applied more coats of PVA first:
I resorted to wrapping the hemispheres in kitchen tin foil as I had no time to order anything else. double sided tape was used to keep the foil in place, and also for sticking them to the skirt panels.
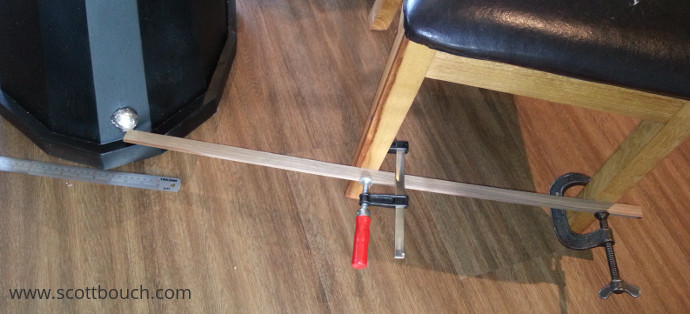
Positioning the hemispheres was straightforward, simply clamped a piece of wood to a chair at the right height and positioned it on each panel, so all hemispheres were fitted at the same height all the way round:
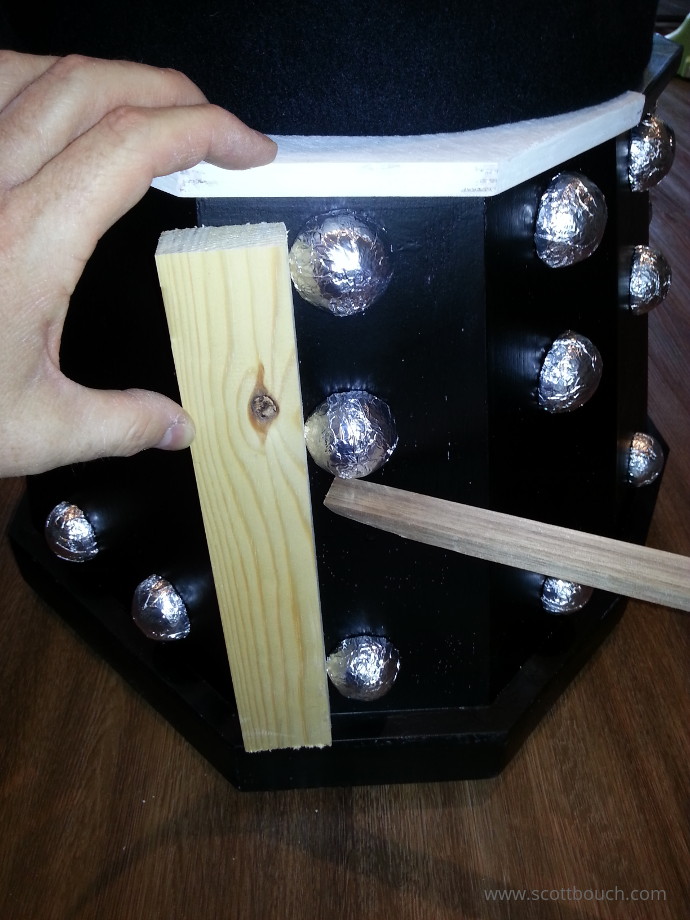
I measured the panel centreline out for the top and bottom hemispheres, then using a spare piece of wood, simply aligned the other two hemispheres against the top and bottom ones, thus saving a lot more time!
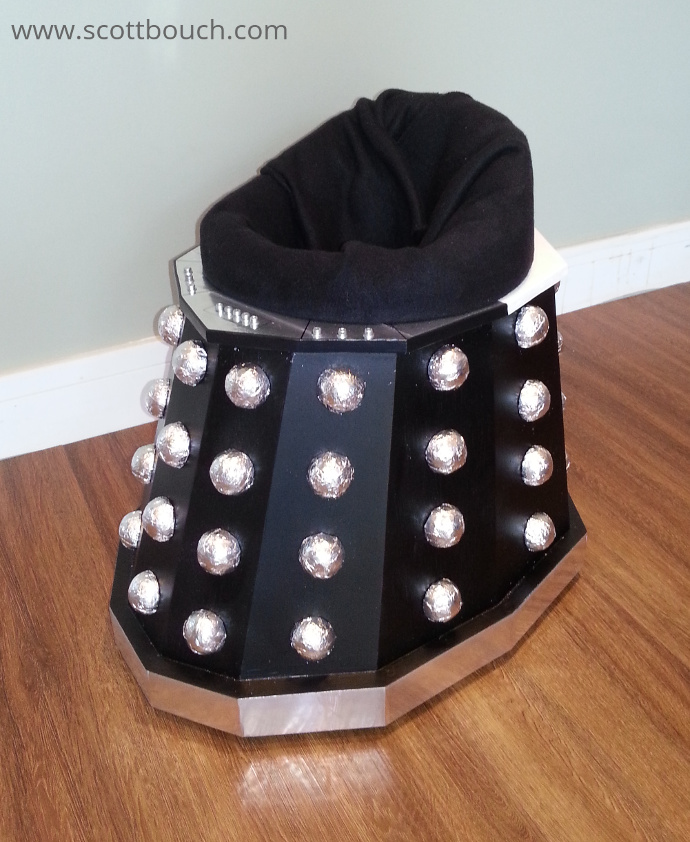
Finished!
That's how I made the Davros skirt in a few evenings and lunch breaks scattered over a 4 week period!
Quick final details: The top of the console is covered in aircraft "speed tape", and some m5 cap head machine screws added to represent the switches / lamps of the real Davros console (but baby-friendly). The black edge of the front of the console is simply PVC tape. the same speed tape was also added around the fender.
The finished Davros Baby Walker page can be seen here