Making The NMR Superconducting Magnet BBQ, or "NMR-BQ"!
Content to come... still building the site..
See me "Quench" a Superconducting Magnet Here →
Content to come... still building the site..
See me "Quench" a Superconducting Magnet Here →
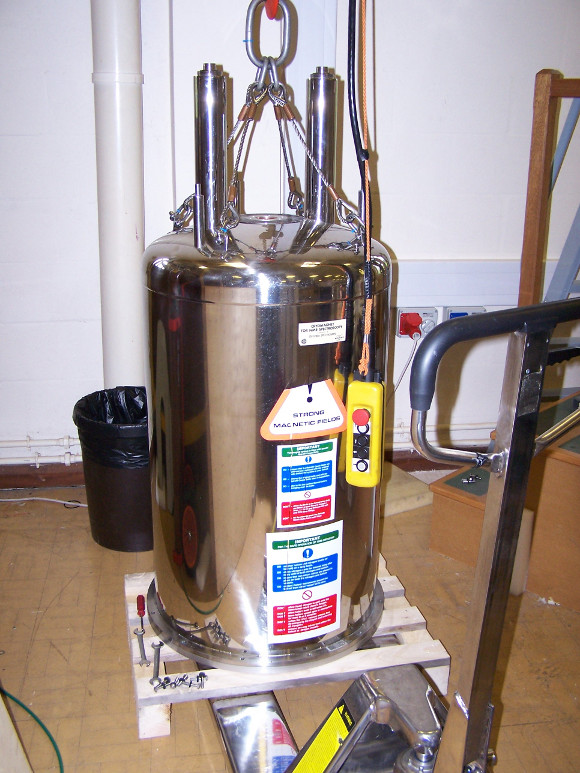
Fig 1 - An "Oxford Instruments" NMR Superconducting Magnet.
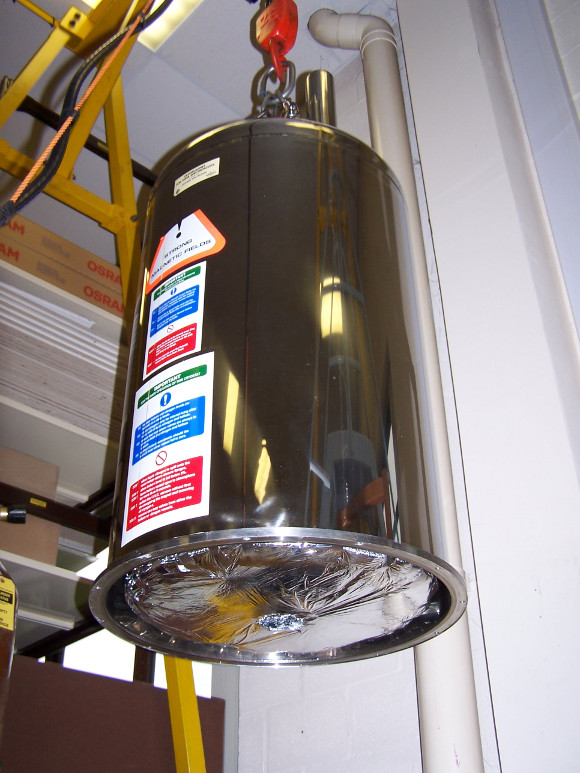
Fig 2 - Hoisting the Superconducting Magnet up with a crane.
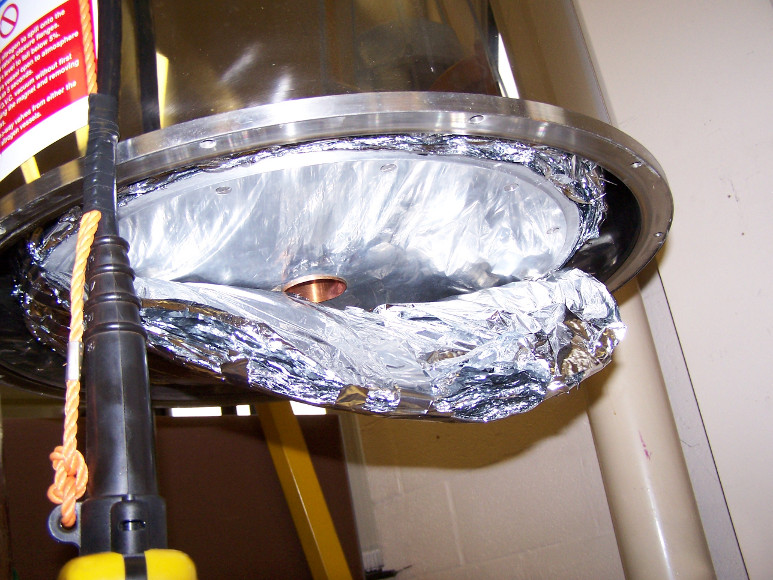
Fig 3 - Removing the layers of insulation from the bottom of the Liquid Nitrogen tank.
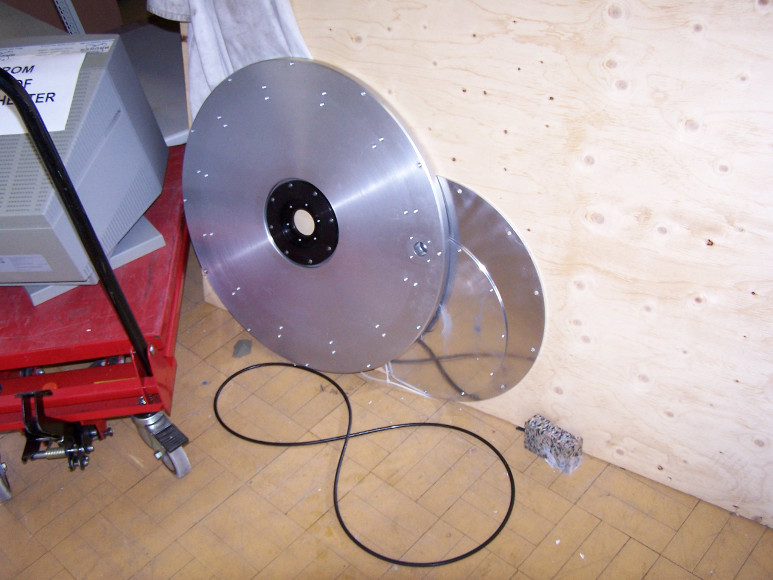
Fig 4 - The main vacuum chamber base plate, radiation shield plate, and the Nitrogen tank base plate removed.
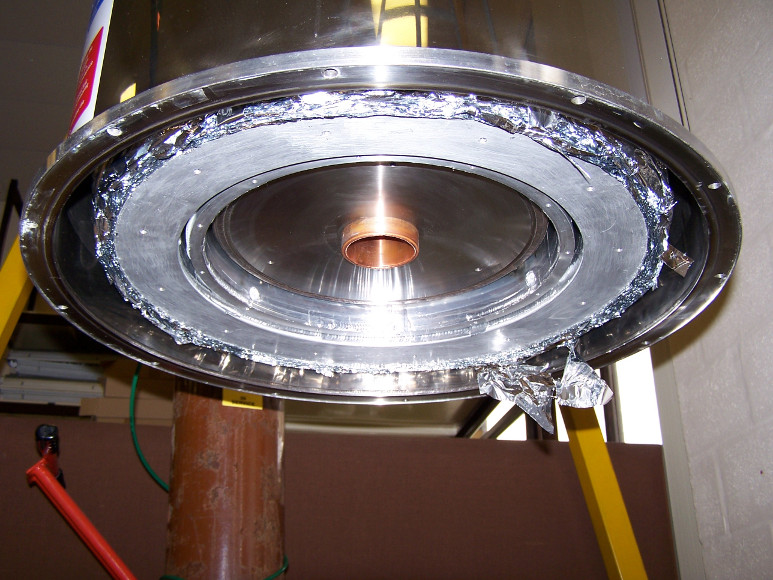
Fig 5 - The bottom of the Liquid Nitrogen tank removed, showing the bottom lip of the radiation shield, and the bottom of the inner Liquid Helium tank, which contains the Superconducting Magnet.
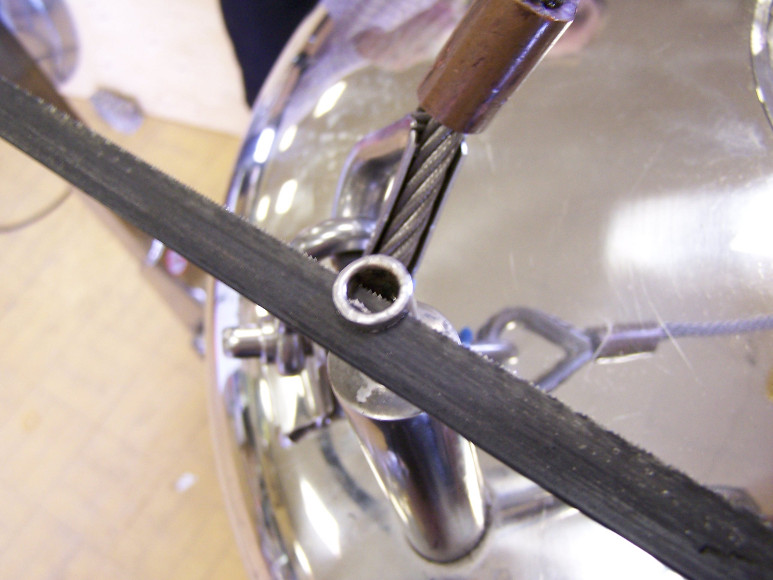
Fig 6 - Cutting the welds from the top of the Liquid Nitrogen towers.
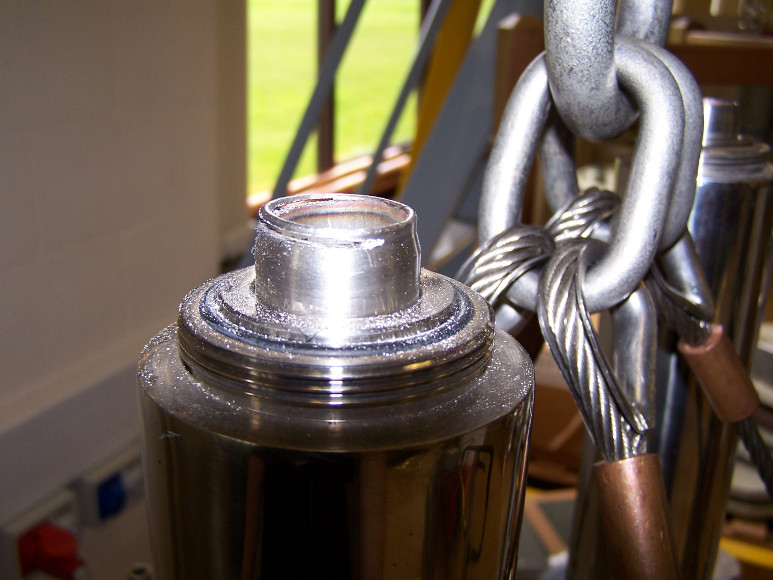
Fig 7 - Cutting the welds from the top of the Liquid Helium towers.
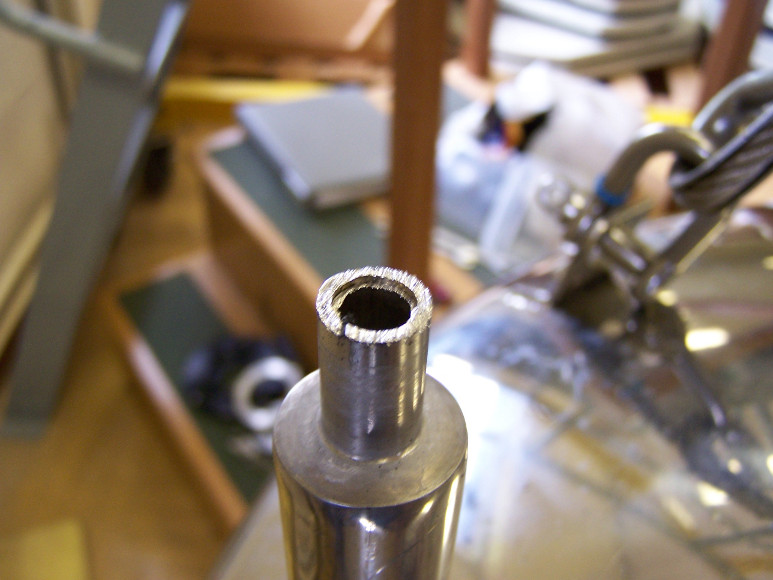
Fig 8 - Lifting the outer vacuum chamber up off he inner cryogenic tanks, you can see a Liquid Nitrogen inner tube dropping away.
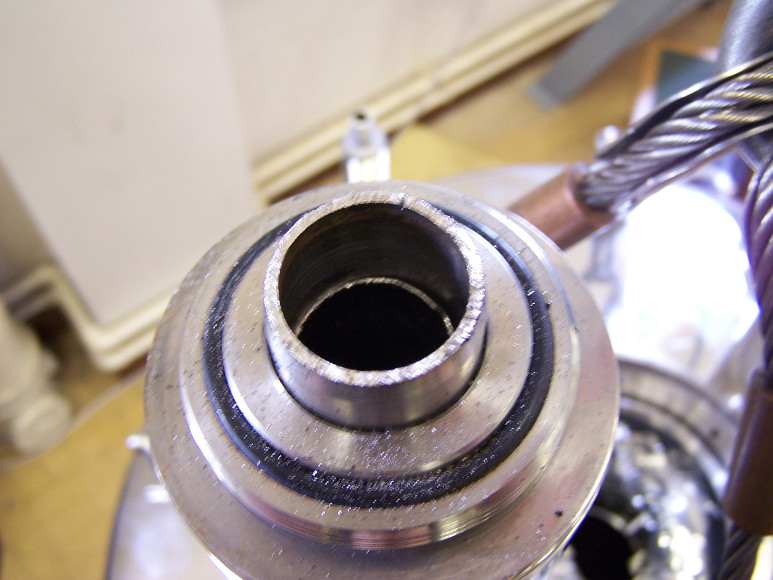
Fig 9 - As for Fig 8, but showing a Liquid Helium tower inner tube dropping away.

Fig 10 - Lifting the outer Vacuum chamber up on the crane reveals more insulation around the Liquid Nitrogen tank.
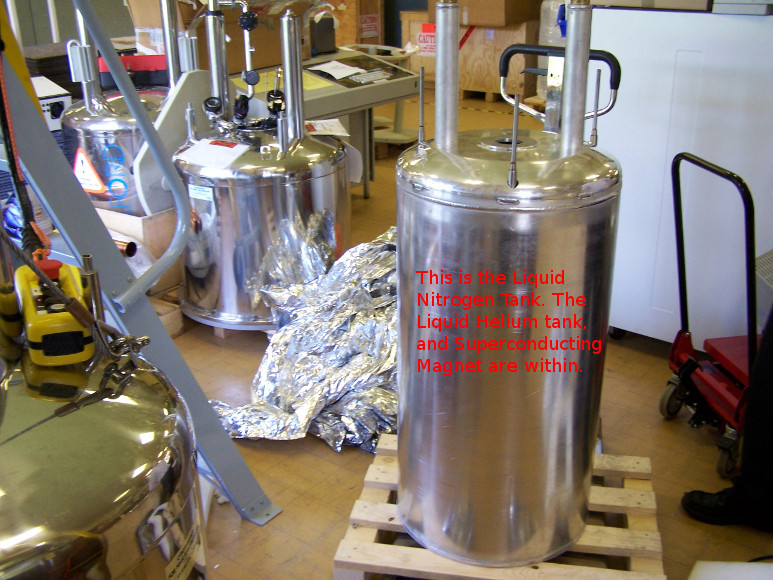
Fig 11 - The inner Liquid Nitrogen Tank (and Liquid Helium tank inside) with vacuum chamber removed, and layers of insulation removed.

Fig 12 - Clever welding - an Impact weld joins Aluminium to Stainless Steel.
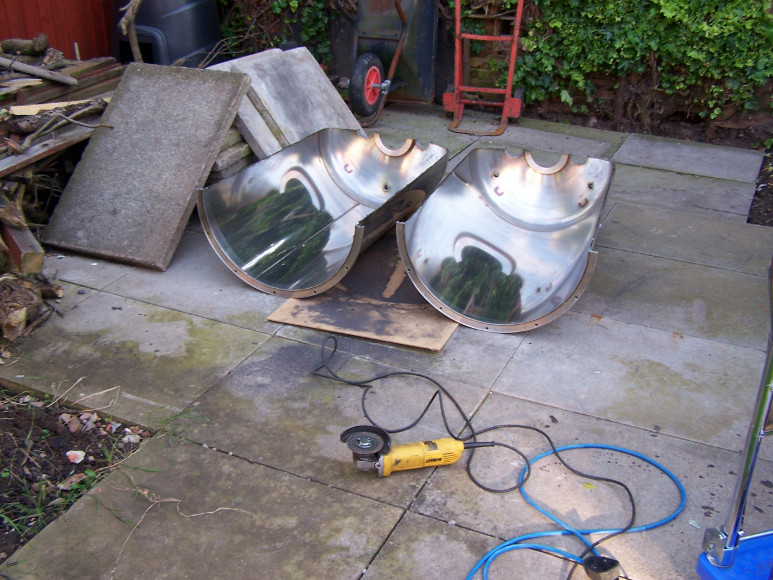
Fig 13 - Chopped the outer vacuum chamber in half with an angle grinder.
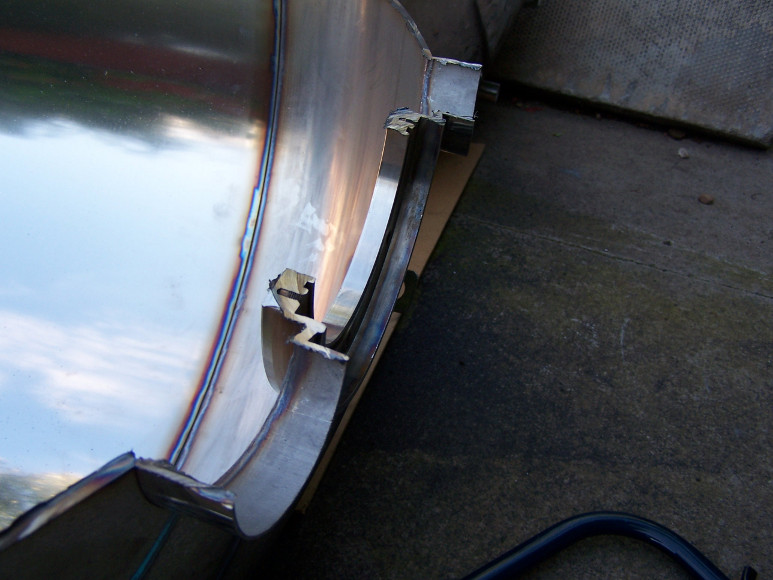
Fig 14 - Sectioned view of the top flange .
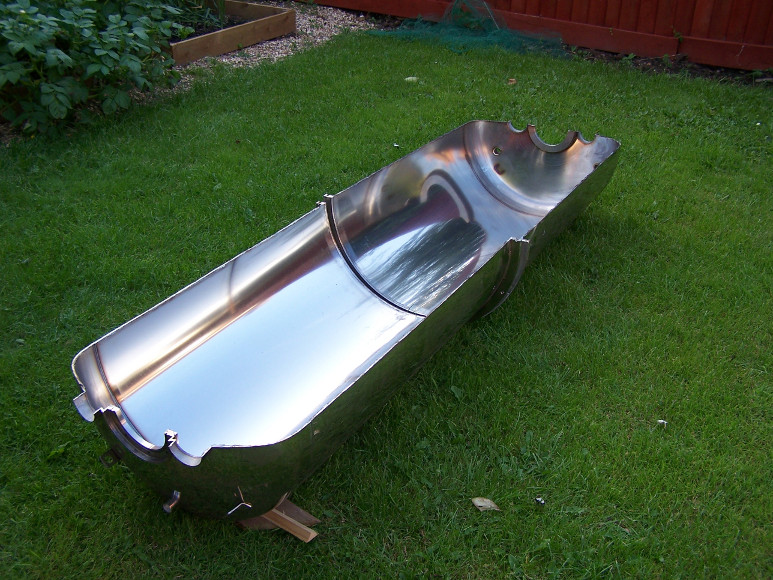
Fig 15 - Trial fit of the two halves together, suddenly I'm daunted by it's size!

Fig 16 - I'd welded Stainless Steel brackets on to the corners to mount the legs, and bolted the to halves together.
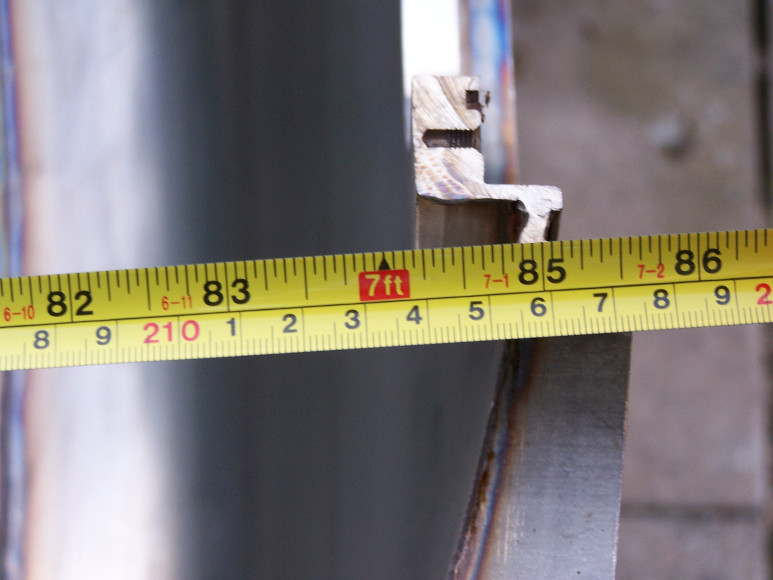
Fig 17 - It ended up 7 feet long!.
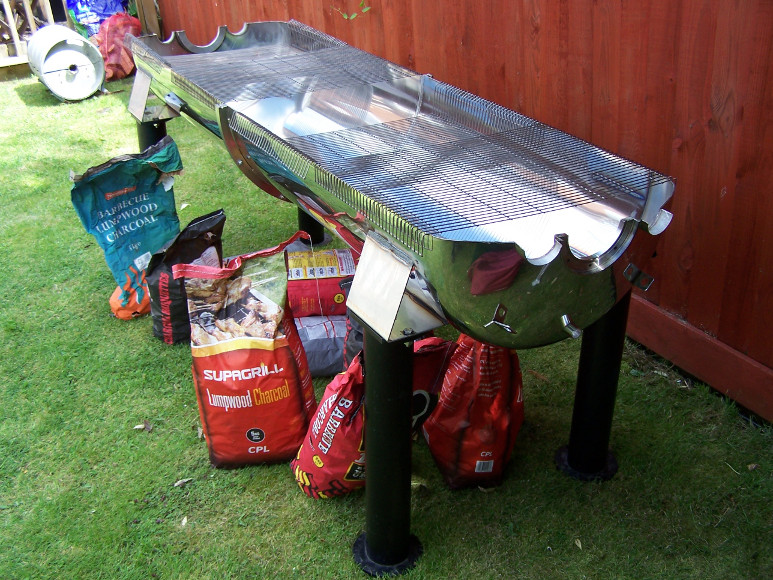
Fig 18 - Grills made for it.
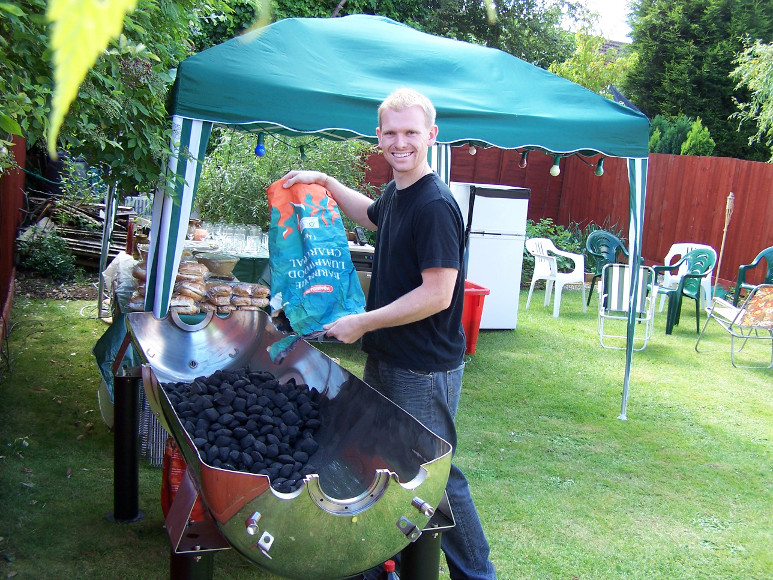
Fig 19 - Myself adding the 9 bags of charcoal...
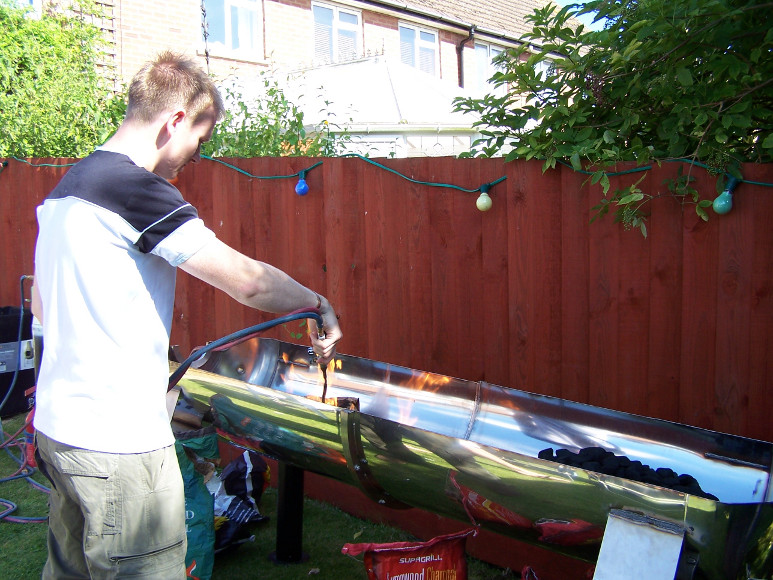
Fig 20 - Lighting the BBQ using an Oxy-Acetylene welding set!
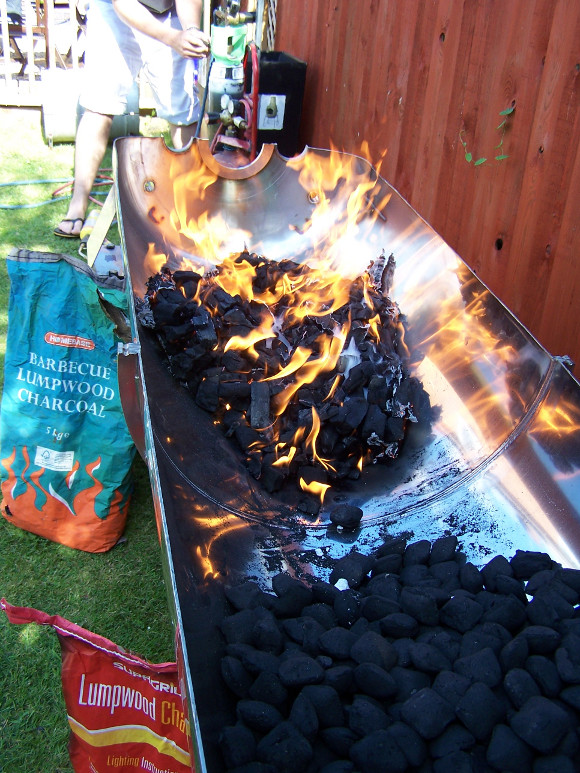
Fig 21 - Lit!